The original craft room I’d set up in our new house was in a guest bedroom. That meant that that I was always moving things off and on the bed (that doubles as a space to lay out crafting supplies when its not being used by guests) and move off other surfaces to make space for luggage. But the two worst parts of that room turned out to be the natural lighting, which was always pretty dim even on the best days because the windows face the north and lots of light gets blocked by nearby trees, and the carpet…which always made for vacuuming challenges after crafting projects with glitter or small bits of paper, fabric and thread.
I didn’t really have a specific plan for the new space, but I watched a ton of videos and looked at lots of pins on Pinterest for inspiration. And since I’m having a “No New New Year” I knew I wanted to stay committed to not purchasing anything new. So I headed to our local Restore. I spent way too long trying to weigh the pros and cons of different options, but ultimately settled on a large IKEA desktop for $25 (knowing that I already had a spare IKEA desk-base that was holding up a makeshift table in my shed), some large pieces of peg board (for five bucks each!) and some plastic wall mounted storage devices for a buck each (I got 10 but have only used two, so far). It was a small miracle that I made it home…thanks to a kind stranger at the store who help me get the peg boards mounted to the top of my car, and a volunteer working at the store who was kind enough to provide some plastic string when I realized the things I’d picked out didn’t actually fit in my car. (oops!) It was a cold and snowy day, but I somehow managed to make it home without anything flying off or out of my car.
I was, of course, lucky to have access to a variety of shelves, and cabinets and other storage devices that I acquired in the past that I was also able to use, but everything was old (and a little worse for wear) and I suspect much of it could have been acquired at garage sales or other second hand shops for a pretty reasonable amount.
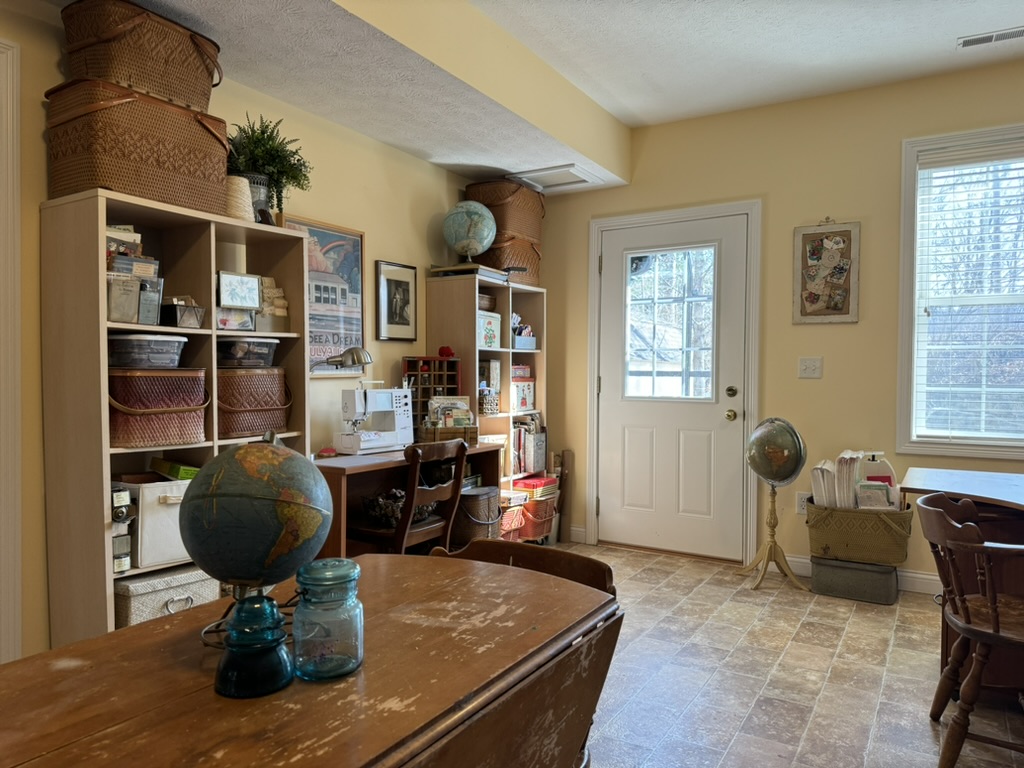
The next big challenge was figuring out the right layout for everything. I sketched up some different options but ended up moving the desktop around the room to see where I liked it best….factoring in overhead lighting sources as well as natural light from the window and door in the new space.
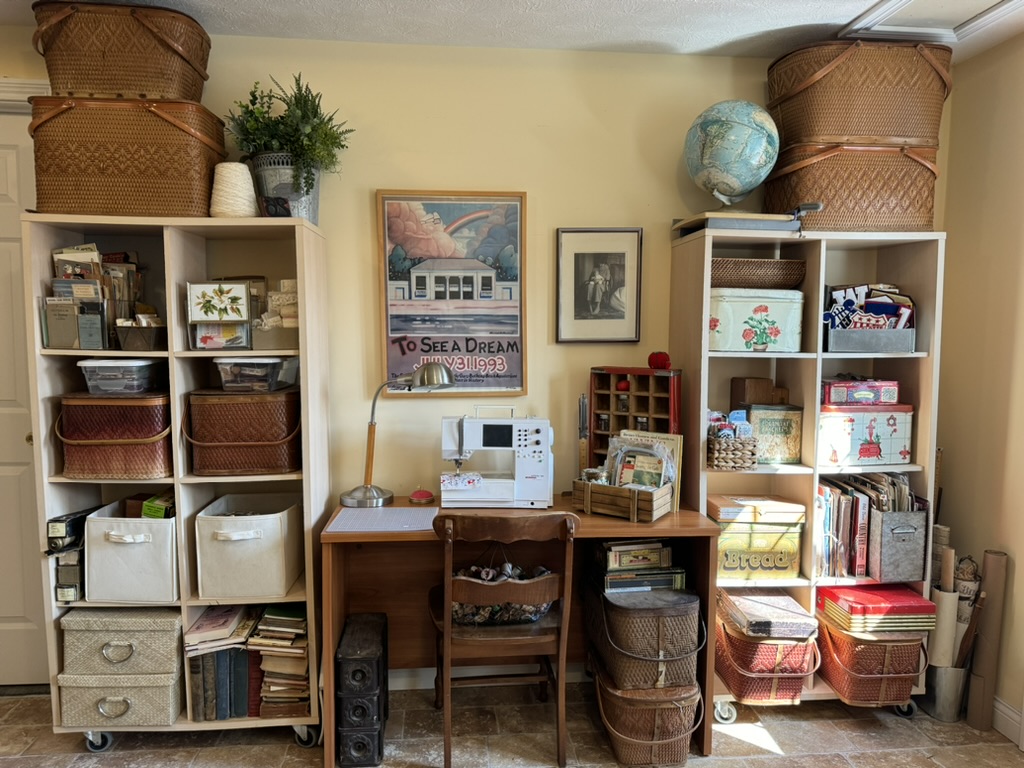
My shelving units were a light wood color, but the other furniture had an orangey woodtone. I’d assumed I’d probably end up painting all the furniture gray or dark brown to make it look like the spaces I’d seen online. But then it occurred to me that the furniture kind of matched the natural color of several of my vintage Redmon baskets…which also make perfect storage containers. So I ran around the house and gathered up all the baskets I could find. Not having to paint anything and being able to incorporate so many of my baskets both as artistic elements as well as functional storage within the space was a win-win!
I’m so happy with how the space came out…and have already enjoyed getting to do some crafting there! I’m also really proud of the fact that I didn’t have to buy anything “new” and only spent $40 on the second hand items that I purchased to facilitate the transformation of this space.